Saturday, September 28, 2013

Kindergarten- Magic Carpets!

Kindergarten learned about all the different kinds of lines like wavy, bumpy, zigzag, straight, dotted, curly, and crazy. We put these lines to use in this super fun/cute project. I had previously cut 3inch strips of different colored construction paper. I gave each student 4 strips in different colors to work on. On each strip they were to pick a type of line we had studied, and then fill the strip up by repeating that line using different colors of crayons. Each of their four strips needed to show a different type of line repeated. I thought many of them would get confused by repeating the same line over and over, but they all got it for the most part.


Next, we glued the strips down on a larger sheet of construction paper. I demonstrated how to use the glue sticks correctly and told them to glue the strips down leave 3 finger spaces on both ends and make them 2 finger spaces apart. It was an easy way to measure for them.


Once we glued all of the strips down we added "fringe" like a real carpet by making tiny cuts along the sides of the paper.


They turned out soooooo cute!


And of coarse I had to make one too! :


The kids were really proud as well! Here are some of them showing off their carpets:


5th Grade- Blind Contour Self-Portraits!

5th grade focused on blind contour lines for their line project. We talked about contour lines first then I introduced them to blind contour lines and the difference between a portrait and a self-portrait. They were really worried at first when I told them they had to draw their faces without looking at their papers or lifting up their markers! I told them that they all turn out really goofy and funny looking... mine even did! The point was to practice their looking skills and drawing with a long continuous line. Like riding a bike, this was a skill to be practiced. The first step was to do the blind contour face with marker. I caught some students looking or lifting up their markers, but most did it correctly! They all thought their drawing looked wierd, but they are suppost to!


After they drew their faces I asked them to cut them out, leaving a space around the outline. Next, we worked on the background to glue the faces on. A similar project I had seen online used just black and white for the background, but I wanted ours to be colorful! I had the students divide their paper by making an X from corner to corner. Then they divided the X with a vertical line down the center and a horizontal line going across. Last, they divided each section they created in half one more time. Then I had them color every other space in with a solid color. 


We had previously talked about different types of lines as a review, so I had them fill in the remaining blank sections with those different types of lines.


The last step was to glue their faces down in the center. They turned out really great and colorful!


Tuesday, September 17, 2013

4th Grade- Still Life

The type of line that we focused on in 4th grade was contour lines. We learned that contour lines showed the outside edges of an object, or an outline. We talked about how when most people draw or sketch, they use contour lines. We practiced looking more at what we were drawing than our papers. I told them to go really really slow and to take their time. I also told them to pretend that the outside edge of the objects was a road and their eye and pencil were cars. They needed to stay on the road with their cars. This helped them look closer at how the objects were shaped.

The first step was to do a contour drawing of the objects on their table, going really slow and taking their time. I wanted to them to draw the objects as they saw them in real life and not what they thought the objects looked like in their head. Then they outlined with a thin, black marker.


The next day, they colored them in with colored pencil. I told them they could get creative and color them however they wanted to. I emphasized how cool colored pencils look when they blend different colors together.


I think overall they turned out pretty good! We haven't gone over proportion or value yet, so they are pretty good for beginners!


Monday, September 16, 2013

3rd Grade- Abstract Line Drawings

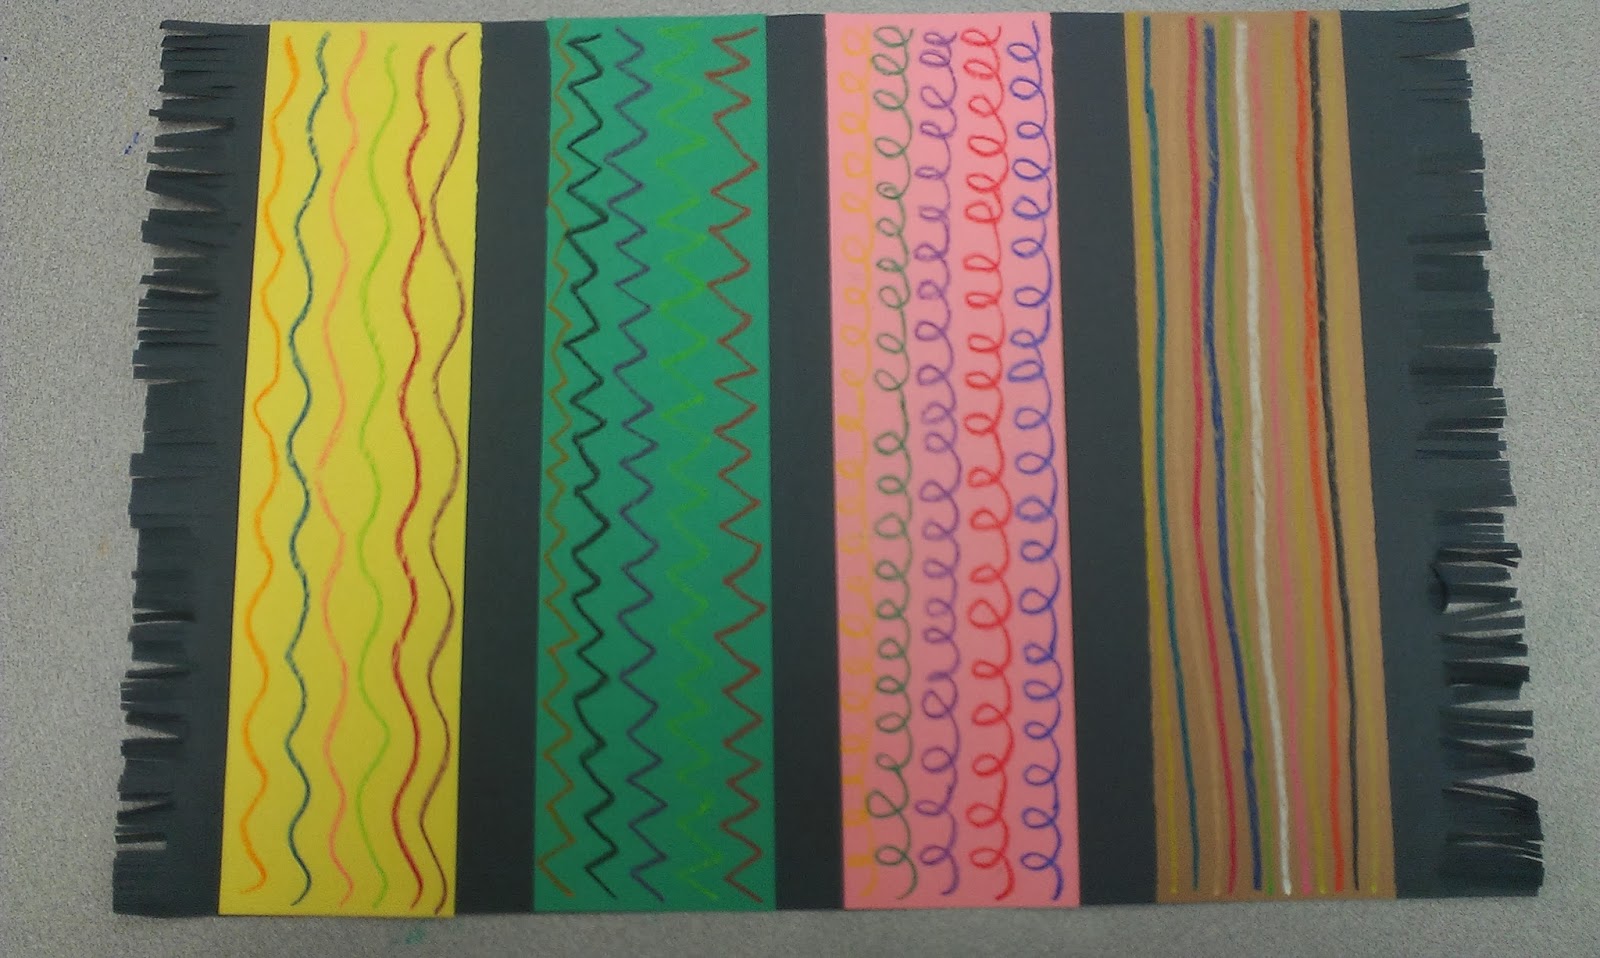
All of the grades spent the first few weeks of school learning about lines. In third grade, we focused on horizontal, vertical, and diagonal lines. We spent some time reviewing types of lines the first day and then talked about horizontal, vertical, and diagonal lines. For this project, we talked alot about abstract art. Abstract art is art that doesn't really have a subject. I told the classes that they will be making abstract art using just the horizontal, vertical, and diagonal lines we talked about in class. We did the first part step by step as a class.

The first step was to use a ruler to add horizontal lines to their papers. They could put the lines anywhere they wanted and could put as many or as little as they wanted.


The next steps were to add vertical lines, and then diagonal lines the same way they added the horizontal lines.


The next day, we started adding color. The first step was to fill up half of the shapes with  solid color. The kids were starting to wonder what the final product would look like.


The next was to fill up another half of the shapes with repeating horizontal, diagonal, and vertical lines. When the kids started filling in more shapes, they became very excited with how the project was turning out.


They turned out super cool and mosaic like!


Friday, September 13, 2013

1st grade: Line Snakes

All of the grades are currently learning about lines. I saw this project on a mentor teachers blog: Adventures in Elementary Art .  First grade started this project by learning about what a line is and then practicing drawing different types of lines like zigzag, straight, wavy, curly, and dotted. Then they drew a snake on their paper using a "wavy" line, making sure they made the body fat so they could draw in it. Then, they had to split the snake into 5 different sections. We discussed how many lines it would take to make 5 sections. Then they filled in each section with a different type of line and filled in the background with different types of lines.
The next class we learned about a "resist" and used watercolor to paint a resist on top of the lines to add color.
They turned out so great!

We are in good hands!

Thursday was Bus Driver Appreciation Day at our school. Our intervention group made t-shirts and a banner to give to the bus drivers when they arrived in the morning. I don't have any pictures of the students greeting the bus drivers, but it was really sweet! They held their sign proudly and chanted each bus drivers name over and over and cheered them on. The bus drivers received their t-shirts and hand made cards and were invited to eat lunch with the students. They were so appreciative and it really warmed my heart! Here are some pictures of our shirts and banner!

Wednesday, September 4, 2013

Raise your hand if you are excited about ART!

The first two weeks of art class were mainly spent getting to know the students and going over the rules. I wanted to do a fun "get to know you" project that all of the classes could do the first couple of weeks. I saw many variations of this hand project online and I wanted to try it as a first of the year project for all grades. It was super fun for them and all grades could be successful at it!(And it looks super awesome displayed in the halls On the first day of seeing my classes, I had them trace and cut out their hand after we finished going over the rules.
The next class was dedicated to decorating the hands. I had them fill up the space with images that had to do with their likes and personalities. I put an example for them on the board.
The kids had fun decorating their hands!!
And they look GREAT in the hall!! Here is the display at Briceville Elementary (I go there on Fridays):
The art gallery at Lake City Elementary (my main school):
Great beginning of the year project!!