Friday, November 22, 2013

2nd Grade- Shapes and Patterns!

2nd grade finally got to start their next project after spending such a long time on their line weavings! I got this project idea from a mentor teacher from my internship: Adventures in Elementary Art . We began the lesson by learning about geomentric shapes and drawing them on the board. I had the students choose 5 shapes to use for their project. They had to draw all 5 shapes overlapping each other. I pointed out that when the shapes overlapped, a new shape was made. They had to make sure the shapes were big enough to draw in later.


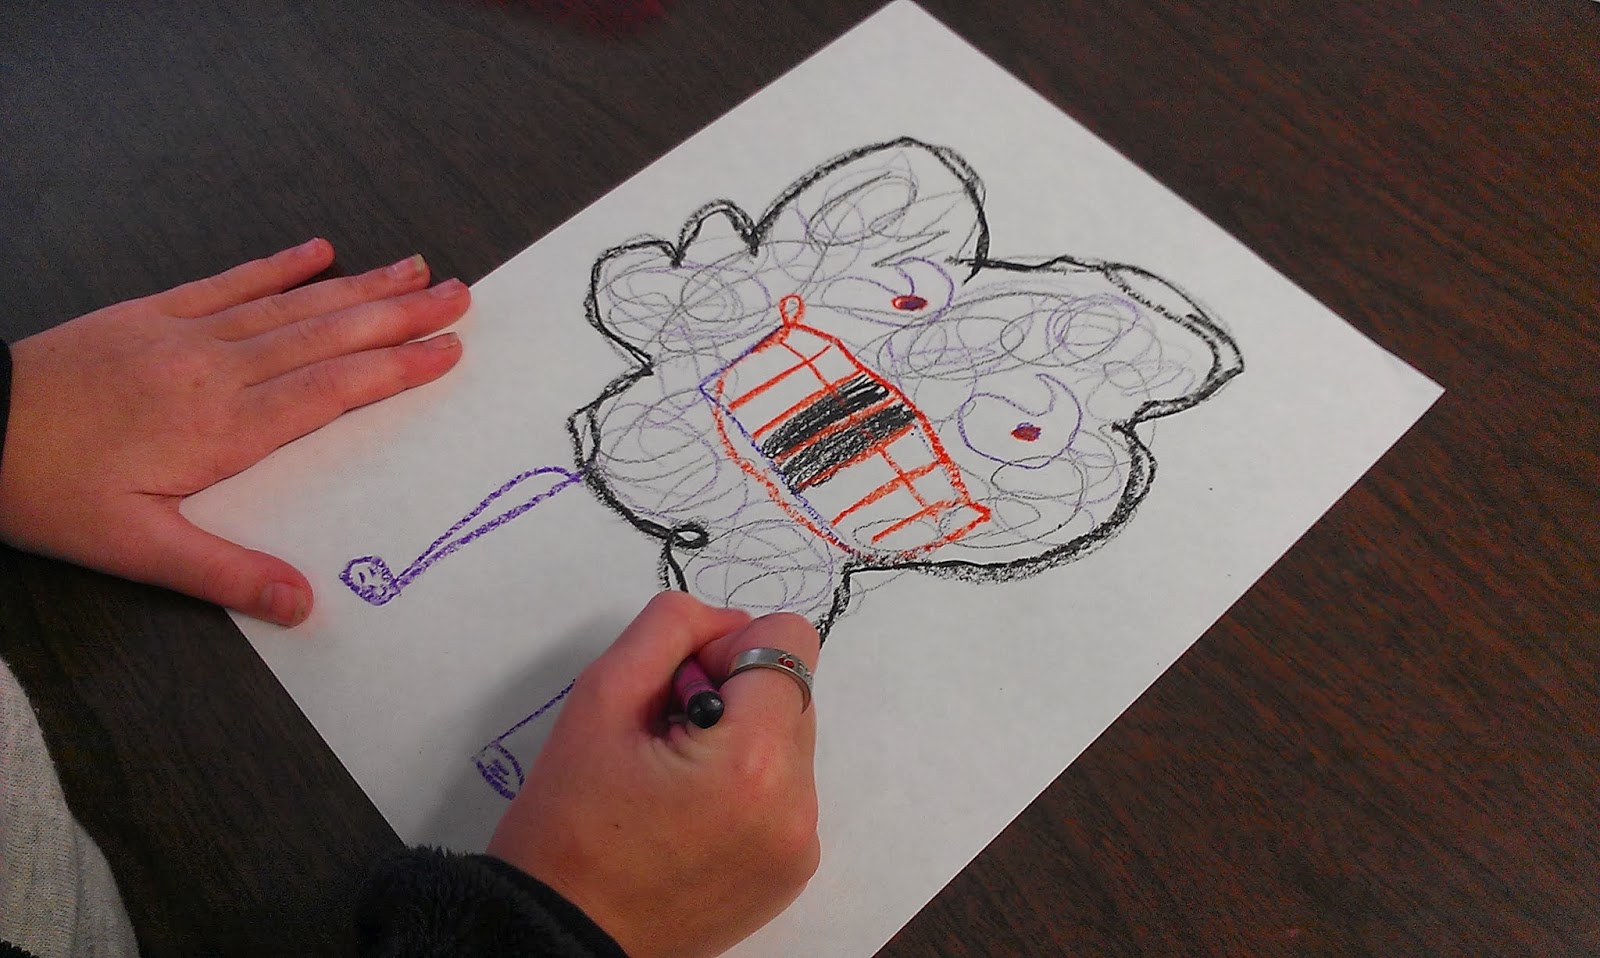
Then, we talked about patterns. The students told me about different types of patterns and examples of where they see patterns in real life. I told the students to fill in each shape (even the new ones created by overlapping) with the coolest and most creative patterns they could come up with. They used colored pencils and had to make it as colorful as possible and fill in all the white space.


The last step was to cut the entire shape out and glue it on a piece of colored construction paper. I was impressed with the amount of detail and color in the patterns!


5th Grade- Symbolic Shape Collage!

5th grade also learned about shapes. However their focus was on symbolic shapes. We breifly reviewed geometric and organic shapes and drew them on the board. I showed them a PowerPoint of symbolic shapes that they see in the world around them. Mostly it included logos of products and places that they see all of the time without including the names. They were able to guess the logos by just looking at the basic shapes and colors. I told them that symblic shapes were shapes that represented something. They were shapes that had meaning and people could understand the meaning by looking at them. I then had the students draw five shapes that symbolized themselves on a sheet of practice paper. The shapes had to be simple and without much detail, if any at all. The next class the students drew and cut out each symbollic shape out of scrap paper. Once they had their shapes cut out, they took one shape at a time and flipped them over so the backside was face up and then used a crayon to color around the edges, making a stencil-like design when the shape was lifted back up. They did this 3 times with each shape and then glued the shape down on their papers. They could add their names at the end if they wanted to. They turned out nice and are very personal. You can tell things about each student from looking at their work.


4th Grade- Organic Shape Monsters!

To start out this lesson, the students viewed a PowerPoint of geometric and organic shapes. I included some interesting pictures (including Adventure Time) that demonstrated organic shapes and had the students come outline the shapes on the board with a marker. Then I handed out a small scrap sheet of notebook paper and told them to turn to their partners and describe the scariest monster they could imagine. Once they had time to share, I told them that they were going to come up with their own make believe monster. They had to answer these questions about it on their papers in complete sentences:
1. What does your monster look like?
2. How does it feel?
3. What does it do?
4. What is it called?
The next class they had to draw their monster with crayons on drawing paper. They could only outline (no coloring in) and the monster had to be made up entirely of organic shapes. 


The next class we learned how to do a watercolor resist and they painted their monsters. I loved the results so much that I had to post a lot of pics!


1st Grade- Geometric Shape Robots!

1st grade began learning about geometric shapes. On the first day of this lesson, we learned about and practiced drawing geometric shapes on a dry erase board and then I had them do a practice drawing of a robot on a sheet of paper using just geometric shapes. They then discussed as a group what robots looked like and what their purpose was. The next class we made our backgrounds. I gave each student a black sheet of paper and a white colored pencil. We talked about cities and what geometric shapes are used to make them. I drew an example on the board. Then they drew their own cities to be used as the background for their robot. They looked awesome!


The next two classes were spent drawing and cutting their geometric shapes out of construction paper and gluing them on their background. They had to reference their practice drawing to get the correct shapes. They turned out great!


Kindergarten- Geometric Shape Abstracts!

Kindergarten learned two things from their math Common Core standards during this lesson. One was geometric shapes, and the other was position words (over, under, next to, etc.). We started the lesson by learning about geometeric shapes and practiced drawing the shapes on my class set of dry erase boards. Then, I had the students work in pairs to sort foam shapes into categories based on the shape. The next day I handed everyone a sheet of white paper. I had a list of instructions that included position words and geometric shapes. I read the instructions step-by-step and the children drew the shapes on their papers with crayon in the right positions, changing crayon colors after every step. Before doing this I practiced the position words with them by having them place their hand on different parts of their bodies based on the positions ( hand on top of your head, hand under your leg, etc.)


They ended up looking very abstract. The next class I taught the students how to do a watercolor resist on top of their drawing. They were impressed that the crayon still showed through the paint! I let them paint them however they wanted as long as they were colorful and all the white spaces were covered.


3rd Grade- Geometric and Organic shape Pizzas!

This is probably one of my favorite projects that I have taught so far! It was so fun (and it made me hungry)! For this project, I introduced the students to geometeric and organic shapes and we discussed the differences between them and looked at some images on the board. The next day I had them cut out the crust and the sauce from a circle I had traced on the papers before. On the circle for the sauce they cut a wavy line around the edges to make it look more like sauce. We talked about how the crust is a geometric shape and that the sauce is an organic shape. Then we cut rectangles for the cheese (geometric shapes).


The next day the students added their own personal toppings on their pizzas with scrap paper. They had to use both geometric and organic shapes. They turned out so good!


I got this idea from Mrs. Brown Art